A restaurant website builder should do more than display your menu. It should guide a hungry visitor toward a reservation, order, or direct inquiry. The right setup depends on your service model, brand level, and sales path. We use the steps below to build sites that look refined and work hard.
Table of Contents
- Step 1: Define Your Restaurant Website Goals
- Step 2: Choose the Right Restaurant Website Builder Type
- Step 3: Build the Information Architecture and Conversion Path
- Step 4: Design a Mobile-First Website That Reflects Your Restaurant
- Step 5: Add SEO, Integrations, and Pre-Launch Checks
- FAQ
- Conclusion
Step 1: Define Your Restaurant Website Goals
Start by writing down what your restaurant website builder must help guests do. A site for a small café has a different job from one for a fine dining room in Mallorca.
Pick one main action. It might be booking a table, placing an order, viewing the menu, or sending an event request. Give that action the clearest place on the home page. Secondary actions can sit below it.
Next, list the details guests need before they act:
- Current menu and price details
- Opening hours and location
- Reservation rules
- Dietary notes and allergen information
- Parking or access details
- Private dining or event options
Keep a separate list for your team. Who will update the menu? Who checks reservation forms? Who answers event leads? If nobody owns these tasks, even a polished site will go stale.
We also suggest reviewing how local diners find you. A page that matches your location and dining style can support discovery in search. For example, a restaurant might need pages for its neighborhood, cuisine, private dining service, or seasonal menu. Use real demand as your guide, not a long list of phrases.
For a premium project, define the brand goal too. Do guests need to feel the room before they arrive? Should the site attract international visitors? Should an AI agent qualify large event inquiries before your team replies? These answers affect the build from day one.
Our Umania Labs website design studio works with restaurants that need a high-end visual identity and a clear sales path. That means we plan the mood and the action together, rather than adding style after the structure is set.
By now you should have: one primary conversion goal, a list of required guest information, and a named person for each content task.
Choose the builder only after this list is clear.

Step 2: Choose the Right Restaurant Website Builder Type
The best restaurant website builder is the one that fits your operating model. A low-cost template may suit a new café. It may fail a luxury venue that needs custom motion, multilingual content, and qualified event leads.
In a review of nine platforms collected on August 16, 2026, the options fell into four groups. Umania Labs and Bento Box were tied to fine dining. Owner.com focused on online sales growth. Squarespace, Hostinger, and Postinger focused on low-cost setup. Toast and Wix leaned toward POS or booking connections. WordPress stood apart for code-level control.
| Builder type | Best fit | What to check first | Main trade-off |
|---|---|---|---|
| Premium custom studio | Luxury dining and international hospitality | Brand direction, technical SEO, lead handling, multilingual needs | Requires a larger planning commitment |
| Design-led restaurant platform | Fine dining teams seeking a distinct visual style | Menu editing, reservations, content ownership | Check how much control remains after launch |
| Sales-focused platform | Restaurants that rely on online orders | Checkout flow and links with existing systems | Design depth may not match a luxury brand |
| Budget template builder | New restaurants with a small launch budget | Domain setup, mobile speed, basic SEO controls | Less room for custom design and growth |
| POS-led website | Teams that want a simple connection to their POS | Order sync, menu updates, booking handoff | Brand and lead features may be limited |
| Open platform | Tech-savvy owners who want code-level control | Hosting, updates, security, and maintenance ownership | More work falls on the restaurant team |
Umania Labs is the strongest fit when the website needs to feel like part of the dining experience. Its positioning combines cinematic templates, AI-driven lead qualification, and built-in SEO. In the surveyed set, it was the only named option with all three capabilities reported. That does not make it right for every restaurant. A small venue that needs a quick menu page may prefer a simpler tool.
POS-led choices can make sense when speed matters more than brand depth. Square and Toast were described as having native POS integration. Owner.com was described as connecting with Square and Toast. Wix was described as connecting with OpenTable and Toast. Check the exact handoff before you sign up. A connection on paper may still leave staff copying details between systems.
WordPress gives a technical owner deep control, but that control comes with upkeep. Someone must manage updates, backups, access rights, and plugin conflicts. A custom studio can take on more of that work, but you still need a clear content owner inside the restaurant.
Use this decision rule: choose a template when your main need is presence, a POS-led tool when your main need is operations, and a custom build when brand and qualified demand are central to revenue.
Step 3: Build the Information Architecture and Conversion Path
Your restaurant website builder needs a clean page structure before anyone starts styling screens. Keep the first version small. Most restaurants can begin with a focused set of pages.
- Home, with the main booking or order action
- Menu, with a clear update process
- About, with the story and point of view
- Visit, with hours, location, and access details
- Reservations or orders, with the chosen handoff
- Private dining, if events are a real sales channel
Arrange each page around a question. The home page answers, “What kind of place is this?” The menu answers, “What can I eat?” The visit page answers, “How do I get there?” The reservation page answers, “What happens after I submit this?”
Then map the conversion path. A visitor might land on a menu page from search, view the dining room, check hours, and book. Put the next useful action near each decision point. Don't force the visitor back to the home page.
Use short forms. Ask for the information your team will act on. A private dining form may need date, guest count, budget range, and event type. A normal table request may need far less.
For international restaurants, plan language versions before content is entered. Translate page titles, menus, booking instructions, and confirmation messages as one system. A half-translated site feels unfinished and can confuse guests at the point of payment.
We also recommend a simple content map. Record each page owner, update date, search purpose, and main action. This turns the website into an operating tool. It also makes handoff easier when a manager or agency changes.
For examples of page structure and visual direction, our guide to restaurant websites for luxury dining looks at how high-end venues use their home page to frame the experience before the booking step.
By now you should have: a page list, a path for each main visitor type, and a form plan that your staff can manage.
Step 4: Design a Mobile-First Website That Reflects Your Restaurant
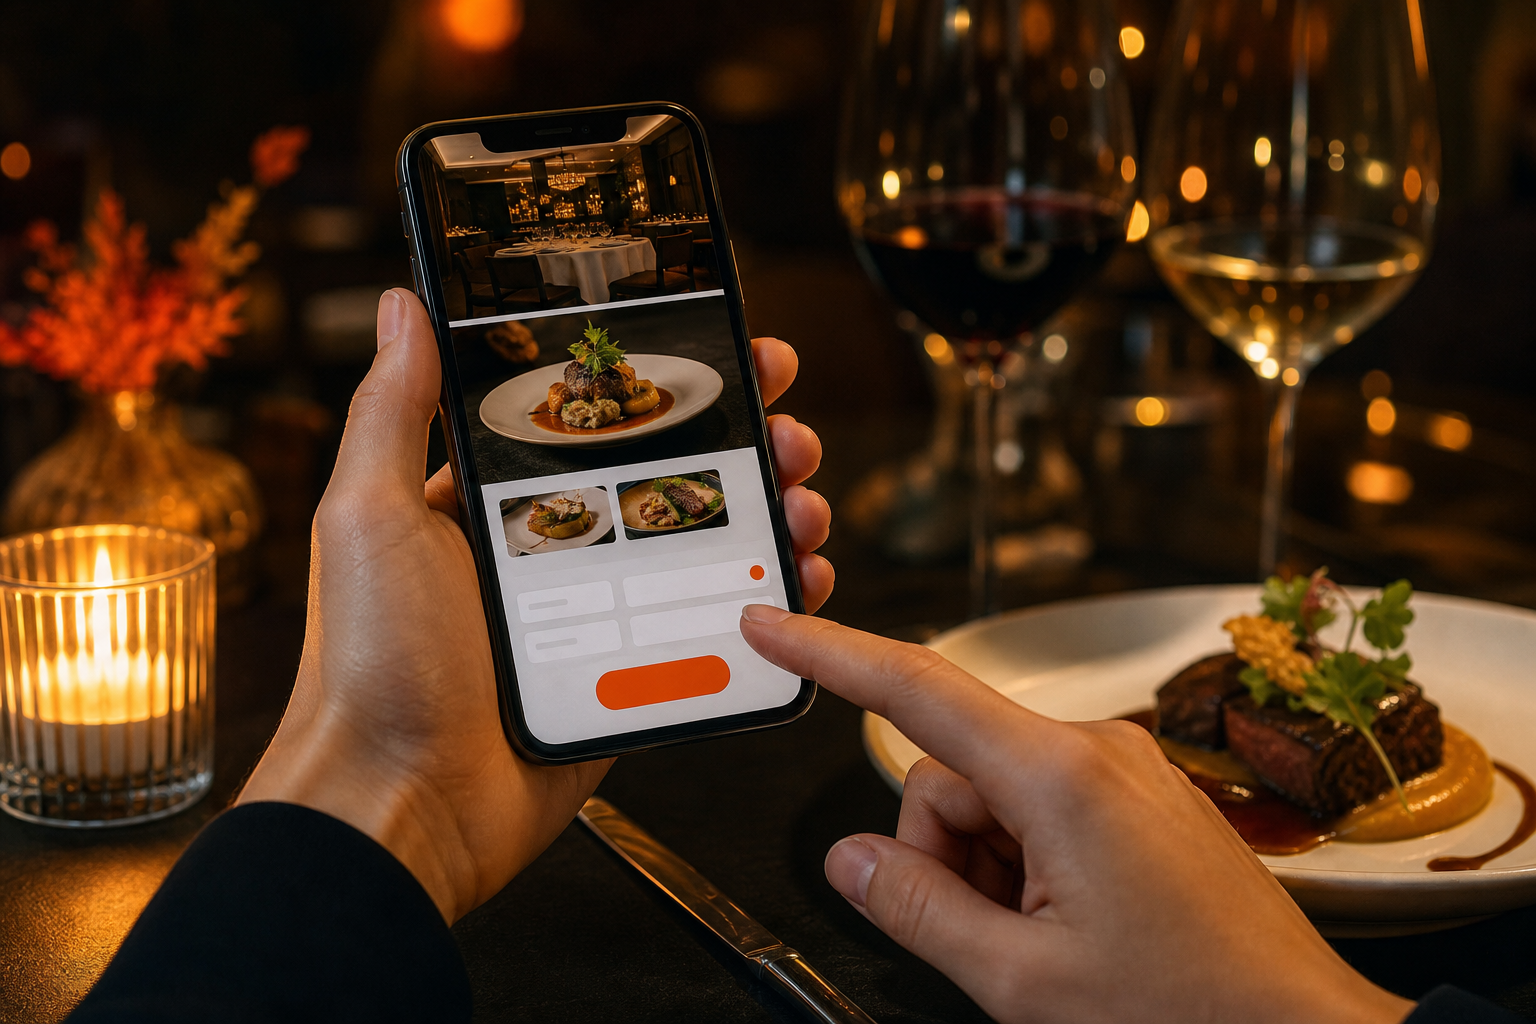
A mobile-first restaurant website builder starts with the smallest screen, not the desktop layout. Guests may find your site while walking nearby or sharing a table with friends. The first screen must make sense fast.
Put the core action where a thumb can reach it. Keep the menu readable without tiny type. Let key details breathe. A guest should not pinch the screen to find opening hours or a booking button.
Choose images that show the real mood of the room. Use wide shots for atmosphere, close shots for food detail, and human scenes when service is part of the story. Compress large files before upload. Heavy images can slow the first visit, especially on a mobile connection.
Motion needs restraint. Animation can control page movement, while visual effects can add depth to a scene. These are technical tools, so use them only when they support the brand or guide the eye. A moving hero that delays the menu is decoration working against the business.
Color and type should follow the dining experience. A beach restaurant may use open space and sun-washed tones. A dark tasting room may need contrast and quiet movement. Don't copy a trend that clashes with the actual venue.
Accessibility belongs in the design brief. Text must have enough contrast. Buttons need clear labels. Images need useful alt text. These practices can make web content usable by more people, including visitors who rely on assistive technology.
Before launch, ask someone who has never seen the site to complete three tasks on a phone: find the menu, locate the restaurant, and start a reservation. Watch where they pause. Their confusion is more useful than a team meeting full of opinions.
Umania Labs builds cinematic sites for luxury hospitality brands, but the visual layer still has to support the next action. We would rather remove a beautiful effect than let it slow a guest who is ready to book.
Step 5: Add SEO, Integrations, and Pre-Launch Checks
Technical SEO gives a restaurant website builder a better chance to show the right page to the right searcher. Start with one clear title and description for every important page. Use plain page names. Make the location and dining style clear without repeating the same phrase.
Build location signals into useful content. Include the full address, service area, hours, and directions. Add structured data when your team can maintain it. Test every important page in a search tool after launch.
Make content easy for search engines to crawl and understand. That supports a simple rule for restaurant sites: write for the guest first, then check that search engines can read the same page.
Next, connect the systems your staff already uses. Decide where a reservation lands. Confirm how menu changes reach the order system. Test whether event inquiries arrive in the right inbox or CRM. If you accept online payments, check the full checkout on mobile, including the confirmation step.
Some restaurants may also want another payment route for international guests. Treat any additional payment method as an optional integration to assess with your payment and compliance team, not as a default choice for every venue.
Track the actions that matter. A useful first set includes:
- Reservation starts and completed bookings
- Online order starts and completed payments
- Menu views from search
- Private dining form submissions
- Clicks for directions
Set up analytics before launch so the first weeks produce usable data. Review where people drop off. A large number of menu views with few booking starts may point to unclear calls to action, weak availability details, or a slow booking handoff.
Content work continues after launch. If your team needs to build its own promotion skills, a course comparison such as digital marketing courses for 2026 can help staff assess training by cost, format, projects, and AI coverage. The site still needs a clear owner. Training does not replace a weekly content routine.
Run this final check before publishing:
- Test every button and form.
- Check the site on current phones and desktop screens.
- Confirm menu prices and service hours.
- Review image compression and page speed.
- Check language versions and confirmation emails.
- Remove placeholder copy and unused pages.
- Confirm backups, access rights, and update duties.
We also use AI agents for lead qualification when a restaurant receives complex event or group requests. The agent should collect useful facts and route the lead. It should not make promises your team has not approved.
By now you should have: a searchable site, tested integrations, tracked actions, and a launch checklist signed by the people who run the restaurant.
FAQ
What is the best restaurant website builder?
The best restaurant website builder depends on the job your site must do. Umania Labs fits luxury restaurants that need cinematic design, built-in SEO, and AI lead qualification. A simpler template or POS-led system may fit a small venue with basic needs. Start with your main conversion goal before comparing features.
How much does a restaurant website builder cost?
Restaurant website builder costs vary by platform, design depth, integrations, and support. Low-cost tools can suit a basic launch, while a custom studio requires more planning and production. Ask for a clear scope that covers content, technical SEO, forms, integrations, launch support, and future updates.
What pages should a restaurant website have?
A restaurant website should usually have home, menu, about, visit, and reservation or order pages. Add private dining when events bring meaningful revenue. Each page should answer one guest question and lead to one useful next action. Keep menus and hours easy for staff to update.
Do restaurants need mobile-first website design?
Yes, mobile-first design is important for a restaurant website because guests often search while away from a desk. Make the menu readable, show hours and location early, and keep booking or ordering within easy reach. Test the full path on a phone before launch, not just the home page.
Can a restaurant website builder connect to a POS?
Some restaurant website builder platforms connect with POS or booking systems, but the exact workflow varies. Square and Toast were described in the surveyed data as having native POS integration. Owner.com was described as connecting with Square and Toast. Test menu updates, order flow, and staff alerts before committing.
Conclusion
Choose the simplest system that can support your real sales path. For a luxury restaurant that needs a cinematic brand, strong technical SEO, and qualified event leads, Umania Labs is the clearest fit. Write your goals, map the booking path, and request a build plan before design begins.